
Planning a trip for elderly travelers or those with disabilities isn’t about finding the lowest price—it’s about building a reliable support system. While Skyscanner is a search engine and doesn’t manage the assistance itself, it is the best place to vet the logistics of a route before you commit your money.

When the goal is accessibility, you have to look past the fare and focus on the “friction” of the journey. Here is how to use the platform to ensure a dignified and smooth experience.
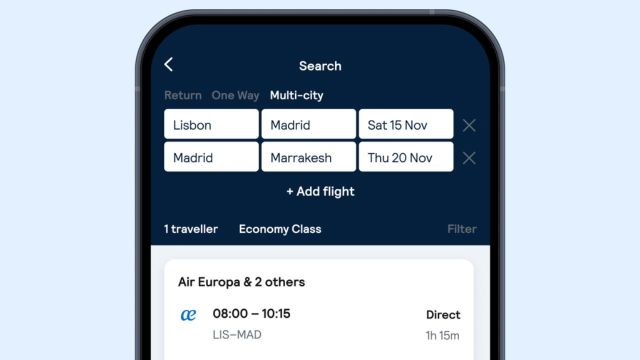
1. Choosing the Right Path
For someone with mobility issues, every connection is a potential point of failure. A tight 45-minute layover in a massive hub like Dubai or Heathrow isn’t just stressful; it can be physically impossible.
• Filter for Direct Flights: This is the single most effective way to reduce risk. It eliminates the need for gate transfers, boarding multiple planes, and the chance of a wheelchair being left behind during a quick swap.
• Check the Aircraft Type: Open the “Flight Details” on any search result. Mainline jets (like an Airbus A350 or Boeing 787) are far better equipped for accessibility than small regional “puddle jumpers.” They often have more spacious aisles and dedicated stowage for manual wheelchairs.
2. Navigating the 48-Hour Rule
Airlines and airports operate on a “notice” system, so once you find a flight that fits your schedule on Skyscanner, you need to be aware of the industry-standard timelines.
• Pre-Booking Research: Before you buy, click through to the airline’s own site to check their specific mobility policies. Some carriers have weight limits for electric wheelchairs or even specific rules for dry-cell vs. lithium batteries.
• The Notification Window: The Notification Window: You must notify the airline at least 48 to 72 hours before departure. Then, if you show up at the airport needing a wheelchair without prior notice, you might get stuck waiting at the curb.
3. The Booking “Hand-off”

When Skyscanner redirects you to the airline or an agent to pay, that is your moment to act. This is the stage where you officially request help.
• Look for the “Special Assistance” Box: During the checkout process, usually near the passenger name entry, there will be a section for mobility or medical needs.
• Know the Codes: Most systems use standard shorthand. WCHR is for those who can walk but need help with long distances. WCHC is for those who are completely immobile and need an “aisle chair” to get into their seat. Choosing the right one ensures the staff brings the correct equipment to the gate.
4. Managing the “Hidden” Logistics
The support you need starts the second you hit the terminal, not just when you board.
• Airport Buggies: Large airports provide electric cart services to get elderly travelers from security to the gate. Even if they don’t use a wheelchair daily, these are a lifesaver for saving energy before a long flight.
• Pre-boarding Rights: In almost every country, travelers with disabilities have the right to board first. This gives you time to get settled, stow medical gear, and talk to the flight crew without the pressure of a crowded line behind you.
5. The Final Peace of Mind
Systems sometimes fail to sync. Just because you checked a box on a website doesn’t mean the ground crew in a different city knows you’re coming.
• The Confirmation Call: Then 24 hours after booking, call the airline’s customer service and confirm that your “SSR” (Special Service Request) is linked to your booking reference.
• The Gate Check: When you arrive at your departure gate, introduce yourself to the agent. Confirm that the assistance is ready for both the boarding process and the arrival at your destination.
The Takeaway
Accessibility is a logistical choice. By using Skyscanner to filter for direct, mainline flights and then following up directly with the carrier, you take the guesswork out of the trip. It’s about making sure the focus stays on the destination, not the hurdles of the airport.
Also Read: How Skyscanner Can Help You Plan Travel with Minimal Baggage